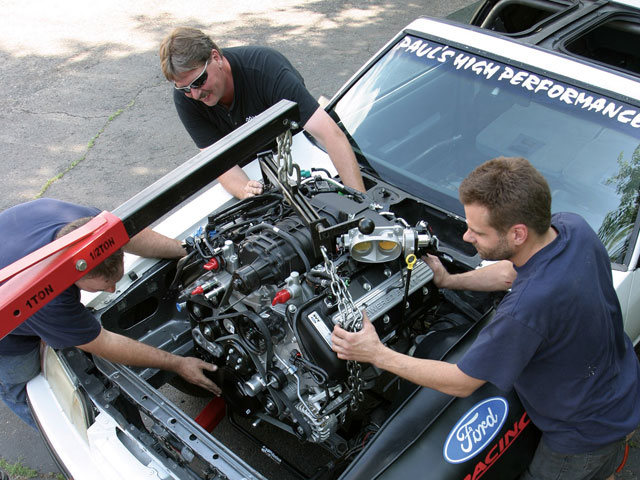
Whether it’s for a performance boost or replacing a failed machine, switching an engine is never a minor job. If you have little to no experience performing these kinds of tasks, it’s highly recommended that you at the very least consult a specialist if not let them handle the job completely. Nevertheless, there are step-by-step guides available for you online that you can follow. Here’s what you’ll need to get started.
Choosing an Engine
An engine swap can either be to another engine intended to work in the car by the manufacturer or a completely different one. As you can imagine, the former is much simpler than the latter, but for many engine tuning enthusiasts it’s the latter that really interests them. Fitting an engine into a vehicle it wasn’t originally intended for can require a lot of work, including modifying the car to accommodate the new machine, modifying the engine to fit the car, or even building custom parts like engine mounts, driveshafts, and transmission bell housing adaptors to ensure everything works together. It’s also important to remember that some insurance companies may charge more or even refuse to insure a vehicle that has been fitted with a different engine to its initial configuration.
What You’ll Need
Before getting started, you’ll need to make sure you have everything you need. You’ll need three types of wrenches, including socket, open-end, and box-end, and various models of screwdrivers including torque, needle nose, and hose removals. Grab some liquid wrench and a wire brush in case your tools start to stick as well as some heavy duty mechanics gloves to protect your hands against abrasion and fatigue.
You’ll also need a floor jack and jack stands to keep the vehicle in position and fender cover pads for both sides to prevent any damage. Use an engine hoist when it comes to removing the machine. You can find all of these suppliers like SGS Engineering. Remember to do so in advance to avoid delaying the process mid-way.
Final Advice
Finally, some of the things that will be invaluable to your task but are often forgotten include items like resealable bags, masking tape, and electrical tape. To ensure you stay organised, take pictures of the assembly along the way for future reference. Use the masking tape to make labels and the electrical tape for other markings. Save all of the parts in labelled bags and try and get a few different colours of tape so that you can better distinguish the different kinds of parts.
With all of this in place, you’ll be ready to go. Take a look at our other tips and guides for more information on car repairs and modifications.


