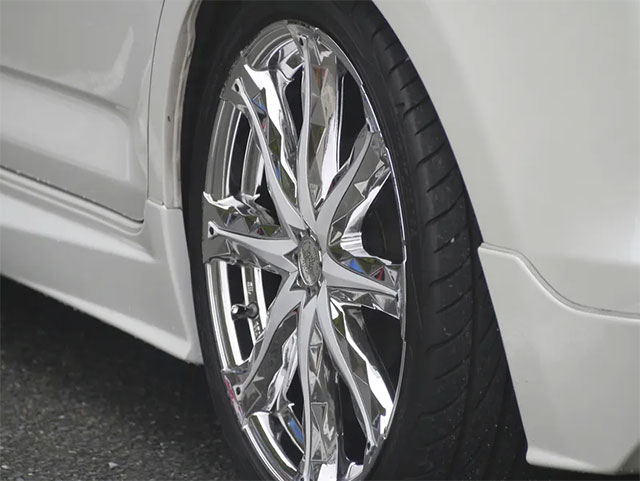
Who doesn’t want to have their car look brand new? But the harsh reality forces us to spend plenty of time cleaning every crevice that might get dirty. In this article, we’ll focus on how to clean alloy wheels. Even moderate driving can make your alloy wheels a showcase of brake dust, dirt, and grime. It doesn’t just spoil the outlook of your car but can even cause long-term damage.
Table of Contents
How to Clean Alloy Wheels

Fortunately, alloy wheels are not that hard to take care of. It’s a pretty straightforward process that requires a few basic tools and some elbow grease.
Step 1: Gather Your Supplies
Before starting, you need to prepare some stuff. The set you need is a bucket, a hose, a soft-bristled brush, a microfiber towel, and a wheel cleaner. The last one is probably the toughest thing to decide on. While choosing the right one, you should make sure it’s safe for your particular type of wheel finish. Some cleaners are too harsh for certain finishes like chrome or painted wheels and can cause damage. Nevertheless, there are some safe-to-go options like Virosol Citrus Cleaner. This powerful degreaser removes brake dust and other stubborn dirt and grime when watered down at a ratio of 1 part Virosol to 10 parts water.
Step 2: Rinse the Wheels
You should start with removing any loose dirt or debris by rinsing your wheels thoroughly with water. To do so, use a hose or pressure washer (if available) to get into all the nooks and crannies. Why is this step first on the list? Dirt or grime can scratch your wheels while you’re cleaning them.
By the way, pay proper attention to the areas around the lug nuts and the inner wheel barrel. Mentioned areas are often the dirtiest and most difficult to clean. Use a pressure washer with a nozzle attachment to get into them effectively.
Step 3: Apply the Wheel Cleaner
Once your wheels are wet, apply a wheel cleaner by following the instructions on the label, and you’ll be good to go. In the case of using Virosol, dilute it at a ratio of 1 part Virosol to 10 parts water. Don’t do more than one wheel at a time. The cleaner on the other ones can simply dry out before their turn comes. While applying the cleaner, make sure to cover the entire wheel’s surface.
Step 4: Scrub the Wheels
Your next move is to use a soft-bristled brush to scrub your wheels. Pay proper attention to the areas with the most buildup. Also, make sure your brush is not prohibited for your particular wheels. An inappropriate one can scratch or damage the surface. How to choose a good one? Soft-bristled brushes are best for painted or polished wheels. Rougher finishes like matte or textured wheels may need a stiffer brush. To maximize the scrubbing impact, use a circular motion for small sections. It will agitate the cleaner and lift off any dirt and grime. Overall, be careful not to overdo it.
Step 5: Rinse and Dry
Done scrubbing your wheels? Rinse them again with water to remove any trace of the cleaner. Make sure not to leave any residue behind on each wheel. Finally, use a microfiber towel to dry your wheels completely (don’t forget about lug nuts and the inner barrel). Obviously, the microfiber towel should be completely clean; otherwise, you risk leaving lint or scratches on your wheels’ surface. As an option, you can also leave your wheels to air-dry for a bit.
Step 6: Apply Wheel Protectant (optional)
Optionally, you can apply a wheel protectant to keep them looking their finest. This solution repels brake dust and other contaminants and makes future cleaning easier. But again, make sure such a protectant is safe for your wheel finish and follow all the instructions.
Step 7: Clean the Wheel Arches (optional)
Why not clean your wheel arches along with the wheels while you’re at it? Simply spray them down with a hose or pressure washer to remove any loose dirt or debris. Next, apply a wheel cleaner like Virosol and scrub them with a brush. Finally, rinse them with water and pat them dry with a towel.


