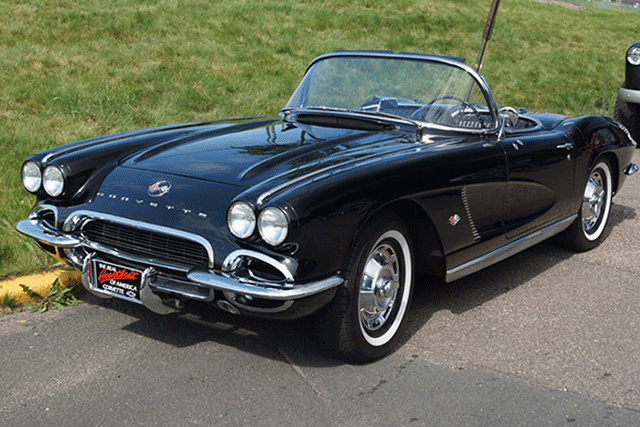
Learning how to paint a wall in your house and how to paint a car in your garage is a completely different thing. While painting interior walls requires only a can of paint and a couple of paint rollers, painting a car involves many products like clear coats, primers, and paint spray guns.
For this reason, professional automotive paint jobs can get very pricey, and not everyone can afford to get their vehicle repainted by a professional car painting service. Moreover, even if you have the money to take your car to a professional car painter, but you love tackling do-it-yourself projects, you might be intrigued by the possibility to repaint your vehicle on your own and upgrade your skills. This article will show you how to paint a car in your garage in five easy steps.
Table of Contents
How To Paint A Car In Your Garage

1) Find Some Spare Time And Stock Up On Supplies
First things first, set aside some spare time for this project. It can take anywhere from a couple of days to a couple of weekends, so finding the time and the shed or garage shielded from external elements is one of the most critical stages of the process. Once you secure a location and set aside the time needed for the project, you’re ready to start gathering up your materials.
When speaking about materials, you’ll definitely need more than just paint. Essential tools and materials include 1200 and 2000-grit wet-and-dry sandpaper, masking tape, an electric sander, an air compressor, a professional automotive paint spray gun which you can order from Fuji Spray Auto, old newspapers for masking off, safety glasses, face masks, and paint thinners.
2) Put In The Preparation
Once you have your tools and supplies, you’re ready to move on to preparing your workstation. Clean your working area. If you’re working inside your garage, sweep the garage’s floors and ensure that you have the needed space to work. Or if you don’t have a closed space and you’re willing to paint your car outside, hose down the area with water and never paint underneath a tree or anything else. Finally, prep the car by washing it to remove surface contaminants like grease, dirt, and road grime.
3) Strip It Down
With your workstation clean and your shelf full of painting products, you’re now ready to get to work. Start by sanding the car in circular motions, removing the clearcoat, the topcoat, and the basecoat. This should be done with a sander, though you’ll have to sand the crevices and corners by hand.
To achieve the best results, sand the car down to the bare metal, giving the new prime coat a smooth surface to adhere to. Once the vehicle is stripped to the desired surface, wipe down the exterior with a clean rag using paint thinners.
4) Get Ready For Prime Time
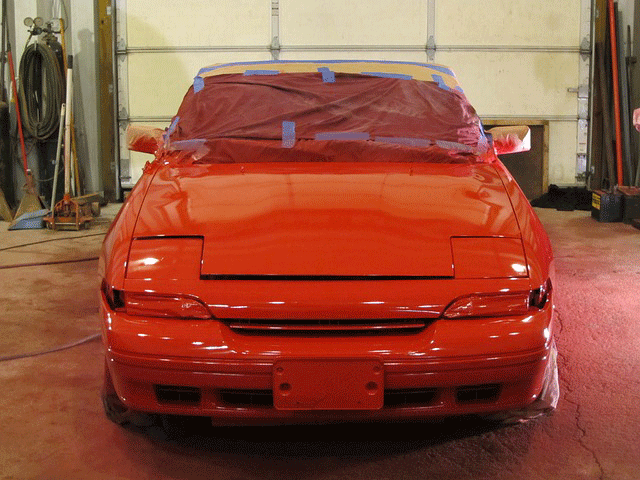
Carefully mask off the areas of your car that you don’t want to paint, and then mix the primer with the thinners. Read the instructions to get the correct mixture ratio. Before you get down to painting, it’s best to practice a little bit. To do that, get a used car panel from a junkyard, hold the spray gun about 6 inches from the panel and scatter in a side-to-side sweeping motion.
With your spraying technique mastered, you can start applying the primer to the vehicle. Work from the roof down, applying it in light, even coats. It usually takes 2-3 coats to cover a surface, and each coat will take about ten minutes to apply per panel and another twenty minutes to an hour for the primer to cure between coats.
5) Paint Your Masterpiece
You’re ready to paint now. Mix the paint with the tinners and use the same spraying technique you used to apply the premier for the topcoat. Apply three to four coats of paint using the recommended drying time written on the paint can. Before you apply the last coat, remove any powdery residue with the wet-and-dry sandpapers and wipe down with a clean rag.
Finally, before the clear coat dries, remove the masking tape used for the areas where you didn’t want any paint applied. Afterward, let the coat cure for the recommended time. Once it’s cured, inspect the finished job for imperfections and minor mistakes. If you find any, sand back the affected area and respray.


